


Paper B52 - Part 3 - Wing box
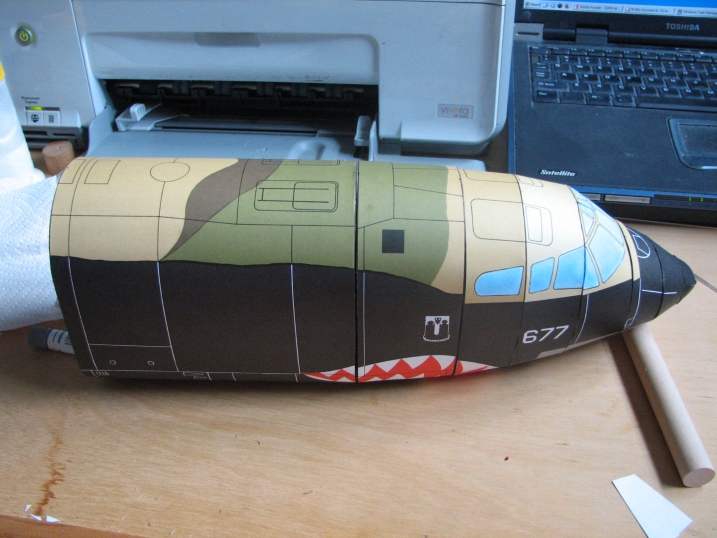
| Since I decided to not to do the cockpit interior, I was left with the white cockpit windows. So, I mixed up some water color paints to get a sky blue color. While sky blue is not what it would really look like from the outside (it would be dark grey or black in reality), I've seen the blue color on other models. It conveys the "window" appearance well. |
|
| I finished the sections necessary to get the fuselage completed all the way back to the wing root. I haven't glued all of them together at this point, but this is what it's going to look like. |
|
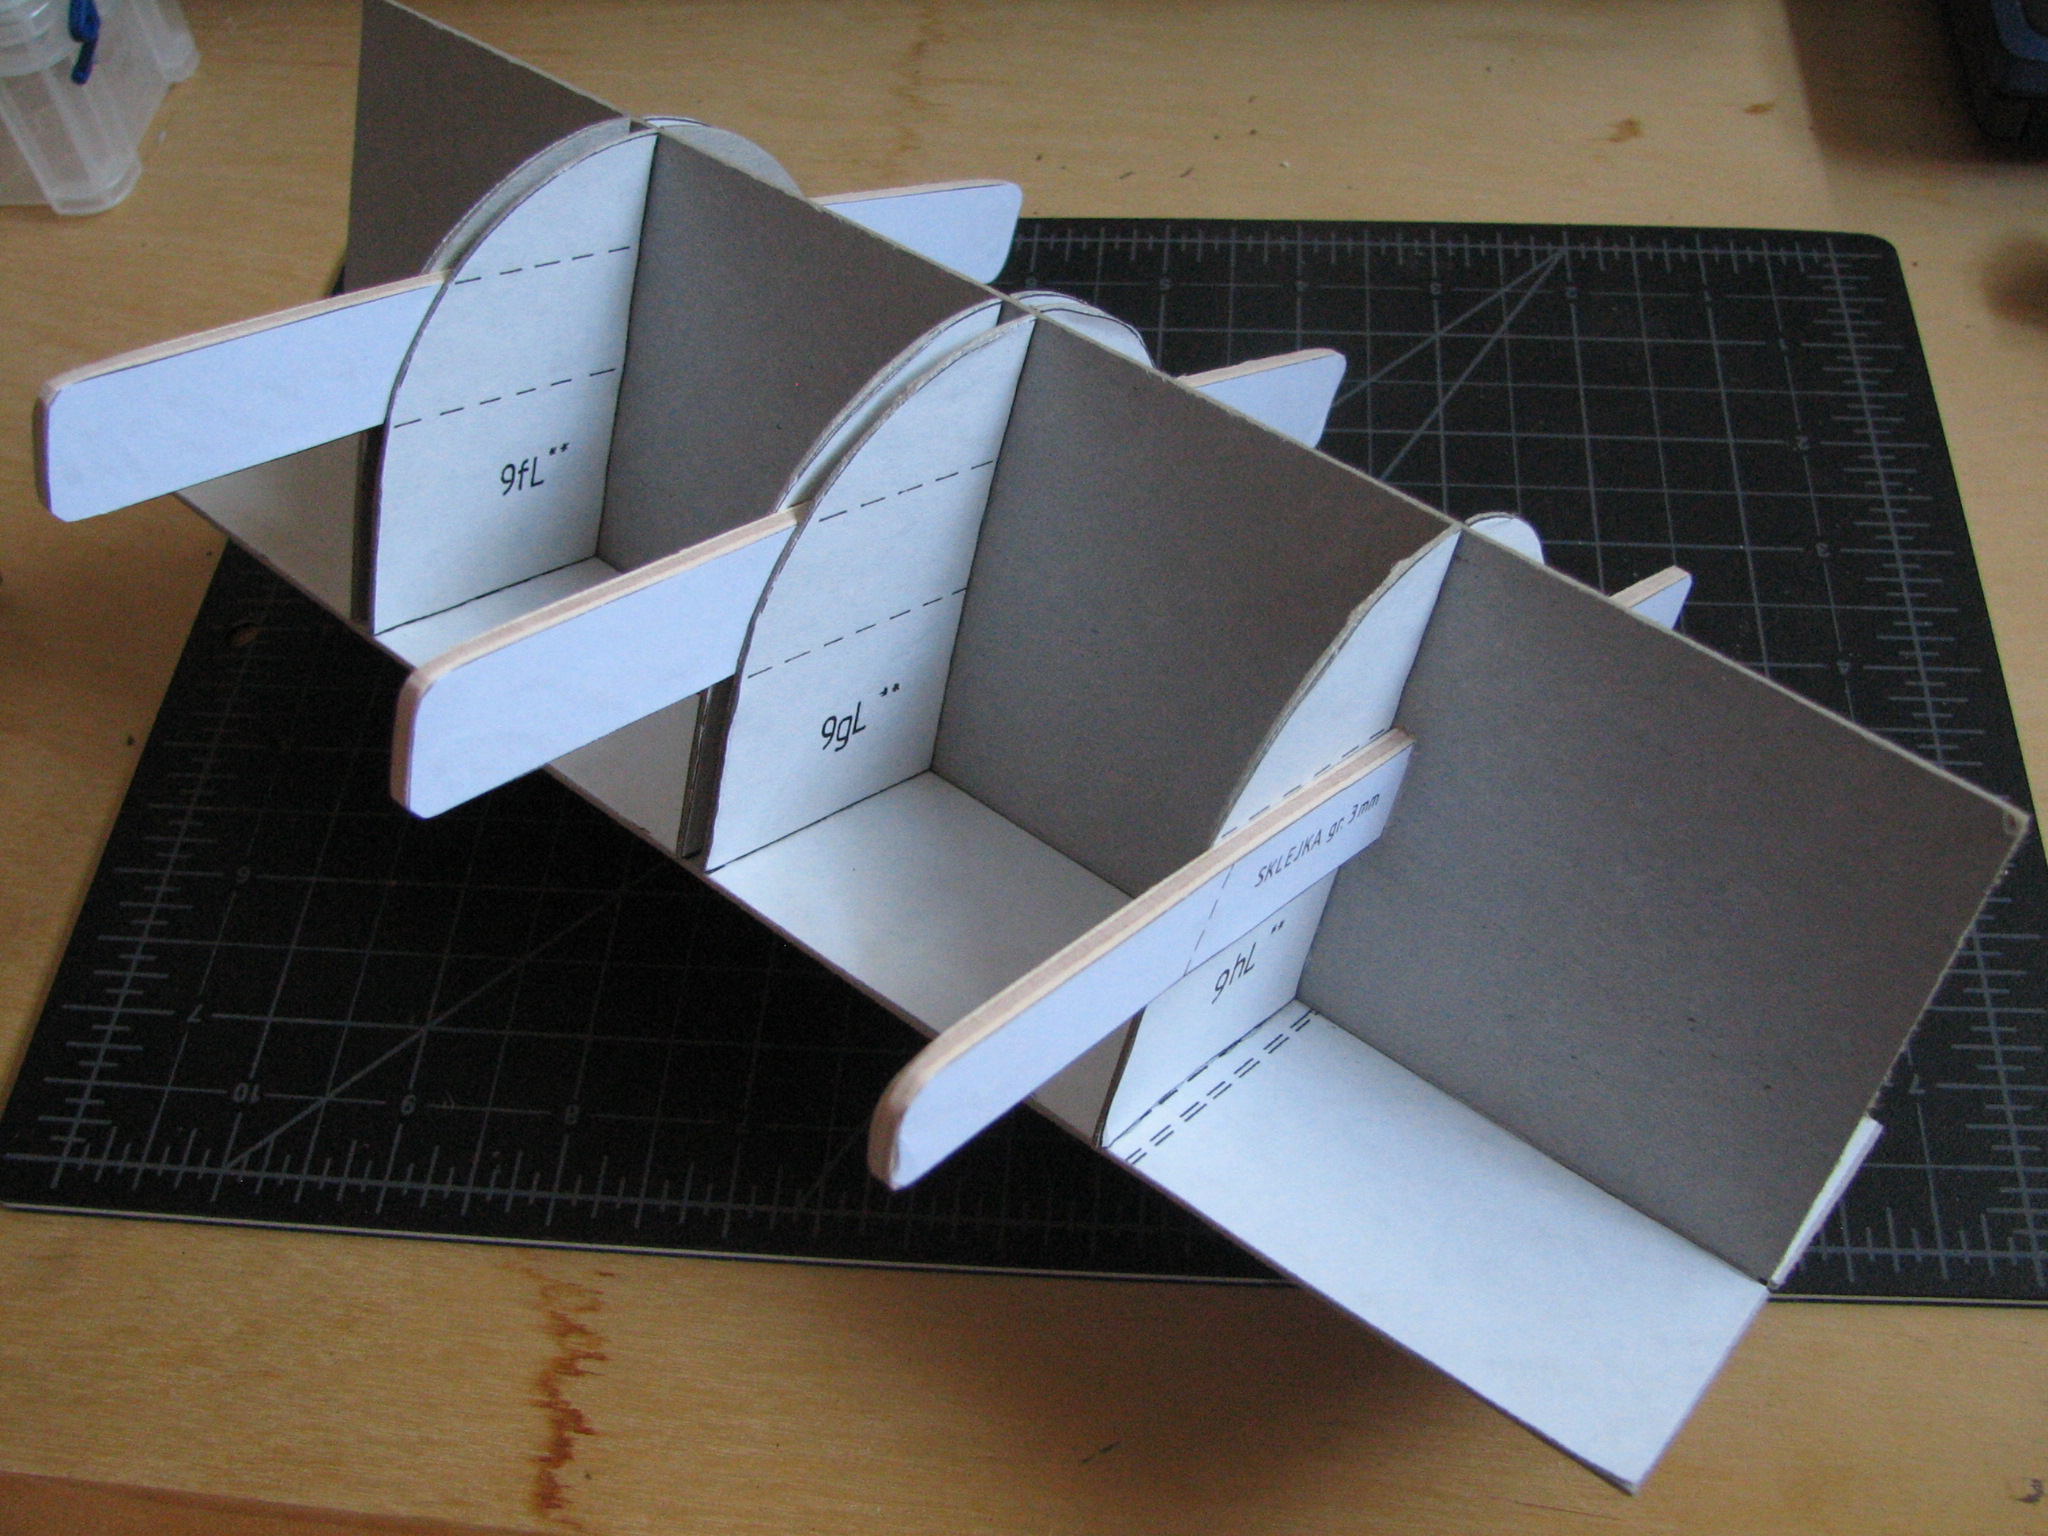
| The next part is the wing box. This is the structure in the fuselage that supports the wings. The templates for these parts were printed on regular paper, and I glued most of them to 1 mm card board. If you look closely at the 3 long, narrow pieces on the right of this photo, you'll see that they are a little bit thicker. In accordance with the instructions, I glued these templates to 3 mm (approximately 1/8 inch) hobby plywood. |
|
| Here's the wing box, almost completely finished. You can see the 3 mm plywood spars that extend through the wing box and will support the wings on either side of the fuselage. |
|
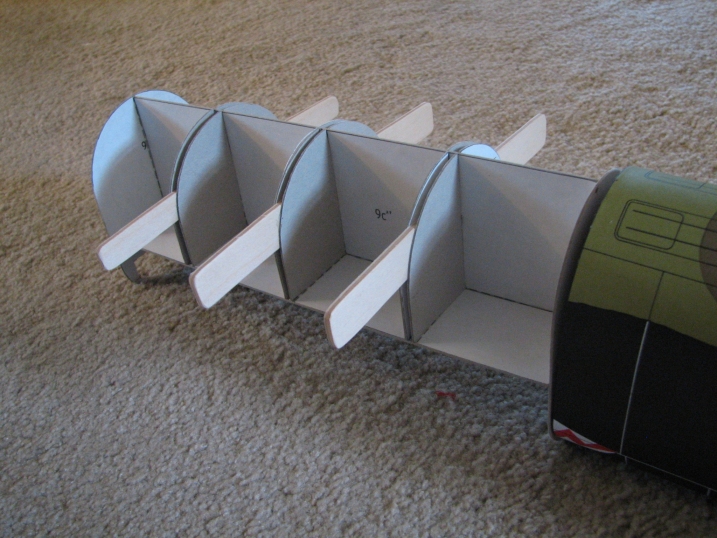
| This is how the wing box will fit into the fuselage. |
|
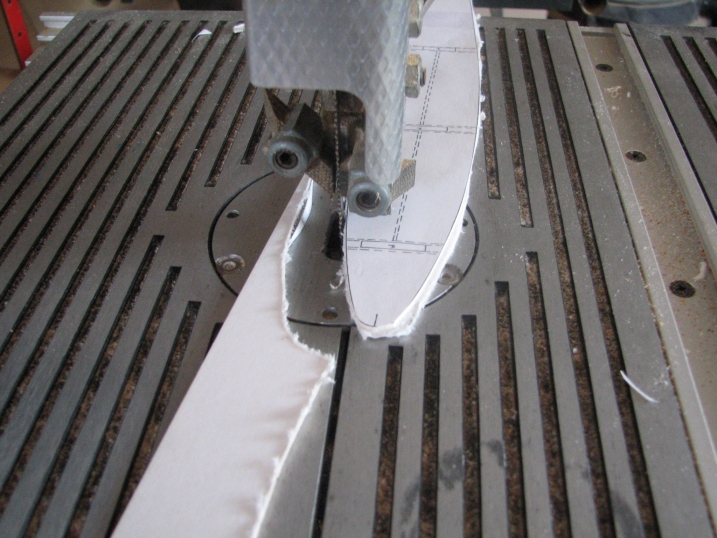
| I'm now starting the wings, and there are a bunch of wing ribs to cut out and glue to cardboard. I actually used my woodworking equipment for this step. In this picture, I'm cutting a wing rib out on my band saw. |
|
| Here I'm using a 12-inch disc sander to get right down to the black line and make the edge very smooth. |
|
| Here are some of the parts that will be used as I start to build the wings. |
|